Tips to Charcoal Grill Great Summer Foods!
images

How to Set Up a Charcoal Grill for Great Summer Foods.

The key to success in any grilling project is control over time and temp. The best way will be is a uni-zoned set-up, which I will describe below.

This gives you a hot direct heat zone when you need to brown the surface, and a cooler indirect zone where the food can cook by convention flow when you want to gently and evenly warm the interior of the food.

One thing to bring up quickly, is the lesser know science of the addition of a water pan. This tool is a great way to add to your cooking environment. The best thing about them is that they absorb heat and radiate it back evenly and it protects from temperature fluctuations. They also add humidity to the air helping to reduce evaporation from the food. The moisture also mixes with the smoke and combustion gases to create wonderful smoky flavors.

I’ve tried many ways to start charcoal but a charcoal chimney starter is far and away my favorite. It’s quick and efficient and my only complaint has been controlling the charred newspaper that seems to immediately take flight the second you lift the chimney.  The Timburn Kindl-Stone has fixed that problem.  You just put an ounce of the Timburn liquid on the stone, light it and place the chimney over it.  The fuel never touches the charcoal so in minutes you have a measured quantity of charcoal ready to go.

Consistency is important!

Uni-Zoned Grilling

Some grill manufacturers recommend a method of banking the coals on two sides with a pan of water in the center, underneath the food. This concept is called zoned cooking and it is an essential concept in good outdoor cooking. But there is a better way that gives you more indirect cooking area and won’t get the meat too hot on the edges.

Bank the coals against only one side!!

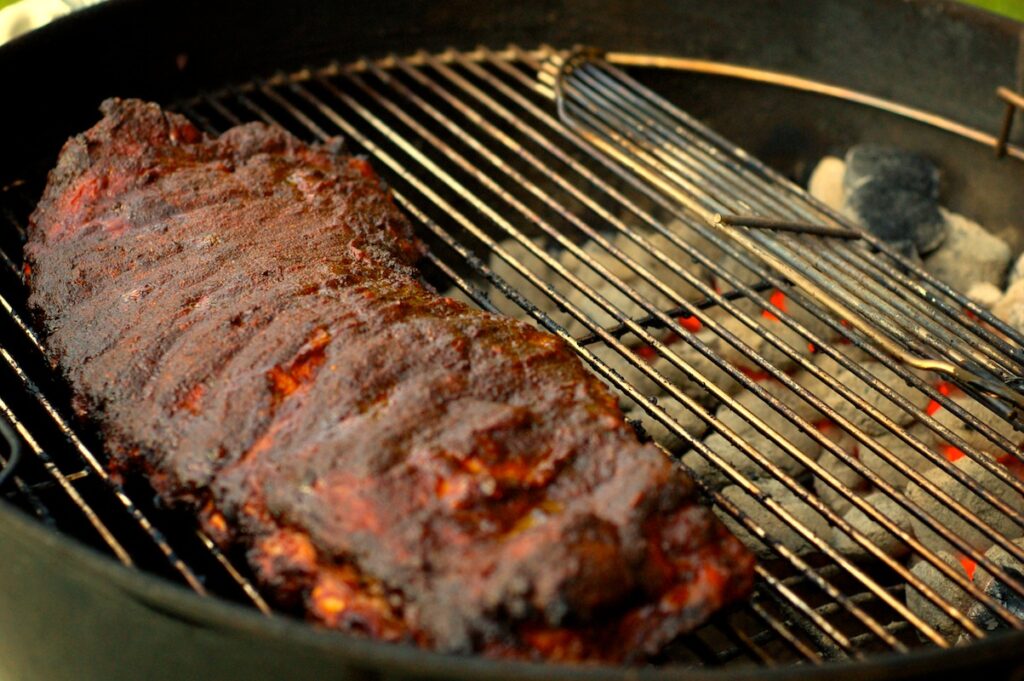
This way you can start thick steaks at a low temp on one side, bring the inside up to close to your finish temperature, and then quickly crisp the exterior over the high heat. This technique is a great way for cooking thick steaks. For tough cuts like ribs, pork butt, or beef brisket, you also use the indirect side. For ribs, you can add the sauce at the end so it doesn’t burn, and move it to the direct heat to crisp it quickly. Fill the pan with hot water so the coals don’t burn down while heating up the water. Don’t bother using apple juice or other flavored liquid. It makes no difference in flavor and just wastes money.

Crispy Flavor

For creating crispy flavor here is a neat trick! Place the meat on the indirect side and instead of the water pan on the top grate, put a hamburger, or some meat trimmings, or even fat trimmings. Meat drippings incinerate when they fall on hot coals and create flavor molecules that land on the meat and can really add character. They will burn to a crisp, they will cause flareups, but your meat is off to the side so it won’t burn. A burnt offering may also cause a rise in temp, so you may need to compensate by damping down the lower intake vent.

Control Your Temperature

Remember that you control the temperature! With charcoal cooking there are two fuels: Charcoal, and oxygen. I know you don’t often think of oxygen as fuel, but it is just as important as the charcoal. Without it the fire dies. You control the heat by controlling the supply of oxygen with the intake vents and the exhaust vents with dampers.

To regulate this crack the bottom vents so they are open half way. Place the lid on so the vent holes are positioned over the meat and leave them open at least half way. That way the smoke must travel across the food to escape. Put a thermometer probe on a cable under the lid or into a vent hole on the lid to read your temp. Leave the top vents open at least half way at all times or you risk a sooty buildup on the meat, or worse, bitter creosote. Control the temp by controlling oxygen to the charcoal with the bottom vents not the top.

Don’t lift the lid unless the temp soars or dips. If the temp drops too low, open the vents wider. You may need to knock ash off the coals with a stick, or remove ash if it blocks airflow.

If you are grilling longer than an hour or two you may need to add more coals. You will probably need to add six coals every 30 to 60 minutes depending on the outside temperature and wind.

You can also remove the lid altogether and put an aluminum pan over the food as a makeshift lid on a hot day and if the fire is running hot. You just may need to experiment to master your instrument.

I hope you have learned a few fun tricks and that your summer is full of seared meats and happy guests!

Topics: |

13 Best Grilling Tips

Grill it hot.

Preheat your grill 15 to 25 minutes before you start cooking to make sure it reaches the right temperature (and to kill any bacteria). Your grill should be 400-450°F for high, 350-400°F for medium-high, 300-350°F for medium and 250-300°F for low heat. A properly heated grill sears foods on contact, keeps the insides moist and helps prevent sticking. While searing doesn’t “seal in” the juices (contrary to popular belief ), it does create improved flavors through caramelization.

It’s easier to remove debris when the grill is hot, so after preheating, use a long-handled wire grill brush on your grill rack to clean off charred debris from prior meals. Scrape again immediately after use.

Food safety is a top priority, so keep these simple rules from the USDA in mind: avoid cross-contamination by using separate cutting boards, utensils and platters for raw and cooked foods; refrigerate foods while marinating; and never baste with the marinating liquid. (Make extra marinade just for basting or boil your marinating liquid first.)

Marinating does more than infuse food with flavor; it also inhibits the formation of potentially carcinogenic HCAs (heterocyclic amines), which form when grilling “muscle meats” like poultry, red meat and fish. According to the American Institute for Cancer Research (AICR), marinating can reduce HCA formation by as much as 92 to 99 percent.

Topics: |