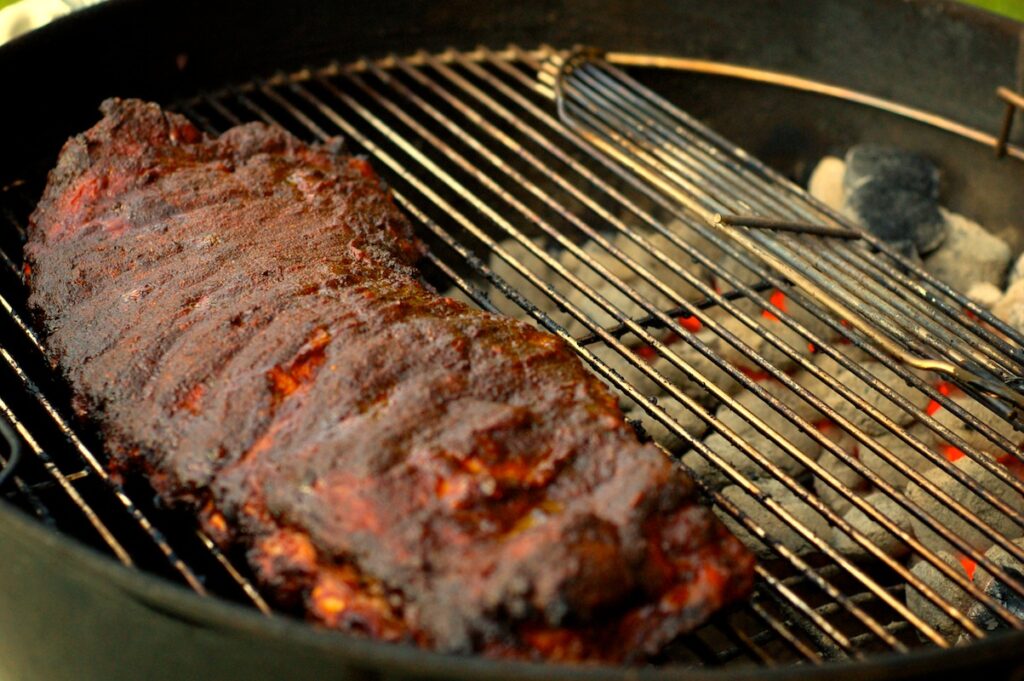
Fire Pit Buying Tips!
Some of the best summer memories come when the hot day ends and the cool evening lures you outside. Outdoor entertaining can be even better with a fire pit, so we’ve done our research to bring you this buying guide to help you choose the best fire pits for entertaining outdoors this summer.
First off why invest in a fire pit?
contemporary-patio-with-rustic-firepit
Well, most people agree that extending our living spaces to the outdoors for all-year-round use is desirable. With the addition of a fire pit, it can be possible. Other possibilities for outdoor entertaining include; outdoor kitchens and fireplaces have long been desired luxury items, and a fire pit is an immensely desirable alternative to a traditional outdoor fireplace. Current magazines tell us that this
feature has become a popular design element, not only for residential homes, but for vacation destinations, hotels and outdoor nightclubs. Many who have them appreciated fire pits as a key décor element as it relates to creating a luxury environment and creating a seductive mood.  Gathering around a fire pit is similar to how you would treat a fireplace inside the home, “with seating enveloping it.” It is the outdoor version of a hearth.
Fire pits are on the market in a range of styles, and are most often made from stone, metal or decorative tile. In term of aesthetics, many say that stone, cement and wood in combination is best, but concrete is a great choice for those looking to achieve a sleek modern look. While the use of stone and wood lends itself seamlessly to a more rustic and natural environment, either way you will enjoy the memories it brings.
 For durability, look for those that you would choose similarly to an barbecue grill, cheaper lightweight metal pits may rust and fall apart over time, but if you are hoping to have the pit for years to come, it is worth investing a little more money into it and choosing a heavier stone model.
If you are you looking to provide ambience or heat, or both? Remember,  that “just because the fore pit provides a flame, doesn’t mean it will keep you warm.” Many portable fire pits that use propane for fuel don’t give off much heat. But wood-burning pits will produce substantial heat. It’s important to note that these take a little more effort to get started, but when you use the Timburn Outdoor Fire Starter starting any fire outdoors is a breeze. You will have all the benefits of a real fire but without the hassle of a difficult start.
 This summer, whether you choose a propane or wood-burning fire pit, there is something desirable about an outdoor fire, whether it is for warmth or for aesthetic reasons. There is simply a certain amount of romanticism associated with it.
Now before you start your first fire, remember, safety comes first. Although fire pits can be a beautiful accent to your home, don’t forget that they contain, well, fire. Experts suggests using a spark arrestor, or a safety screen, especially in dry environments to contain the flames to the pit and only use the pit on dirt, paving stones, concrete or another non-combustible surface. He also says to maintain a 10 foot radius around the pit from your home and any other structure, equipment or furniture in the yard. Another rule of thumb is to not to install the pit under any long hanging trees, and he suggests keeping a clearance of 30 feet vertically to avoid any accidents.
Topics: |
This story was written by John Cook

Tips to Charcoal Grill Great Summer Foods!
images

How to Set Up a Charcoal Grill for Great Summer Foods.

The key to success in any grilling project is control over time and temp. The best way will be is a uni-zoned set-up, which I will describe below.

This gives you a hot direct heat zone when you need to brown the surface, and a cooler indirect zone where the food can cook by convention flow when you want to gently and evenly warm the interior of the food.

One thing to bring up quickly, is the lesser know science of the addition of a water pan. This tool is a great way to add to your cooking environment. The best thing about them is that they absorb heat and radiate it back evenly and it protects from temperature fluctuations. They also add humidity to the air helping to reduce evaporation from the food. The moisture also mixes with the smoke and combustion gases to create wonderful smoky flavors.

I’ve tried many ways to start charcoal but a charcoal chimney starter is far and away my favorite. It’s quick and efficient and my only complaint has been controlling the charred newspaper that seems to immediately take flight the second you lift the chimney.  The Timburn Kindl-Stone has fixed that problem.  You just put an ounce of the Timburn liquid on the stone, light it and place the chimney over it.  The fuel never touches the charcoal so in minutes you have a measured quantity of charcoal ready to go.

Consistency is important!

Uni-Zoned Grilling

Some grill manufacturers recommend a method of banking the coals on two sides with a pan of water in the center, underneath the food. This concept is called zoned cooking and it is an essential concept in good outdoor cooking. But there is a better way that gives you more indirect cooking area and won’t get the meat too hot on the edges.

Bank the coals against only one side!!

This way you can start thick steaks at a low temp on one side, bring the inside up to close to your finish temperature, and then quickly crisp the exterior over the high heat. This technique is a great way for cooking thick steaks. For tough cuts like ribs, pork butt, or beef brisket, you also use the indirect side. For ribs, you can add the sauce at the end so it doesn’t burn, and move it to the direct heat to crisp it quickly. Fill the pan with hot water so the coals don’t burn down while heating up the water. Don’t bother using apple juice or other flavored liquid. It makes no difference in flavor and just wastes money.

Crispy Flavor

For creating crispy flavor here is a neat trick! Place the meat on the indirect side and instead of the water pan on the top grate, put a hamburger, or some meat trimmings, or even fat trimmings. Meat drippings incinerate when they fall on hot coals and create flavor molecules that land on the meat and can really add character. They will burn to a crisp, they will cause flareups, but your meat is off to the side so it won’t burn. A burnt offering may also cause a rise in temp, so you may need to compensate by damping down the lower intake vent.

Control Your Temperature

Remember that you control the temperature! With charcoal cooking there are two fuels: Charcoal, and oxygen. I know you don’t often think of oxygen as fuel, but it is just as important as the charcoal. Without it the fire dies. You control the heat by controlling the supply of oxygen with the intake vents and the exhaust vents with dampers.

To regulate this crack the bottom vents so they are open half way. Place the lid on so the vent holes are positioned over the meat and leave them open at least half way. That way the smoke must travel across the food to escape. Put a thermometer probe on a cable under the lid or into a vent hole on the lid to read your temp. Leave the top vents open at least half way at all times or you risk a sooty buildup on the meat, or worse, bitter creosote. Control the temp by controlling oxygen to the charcoal with the bottom vents not the top.

Don’t lift the lid unless the temp soars or dips. If the temp drops too low, open the vents wider. You may need to knock ash off the coals with a stick, or remove ash if it blocks airflow.

If you are grilling longer than an hour or two you may need to add more coals. You will probably need to add six coals every 30 to 60 minutes depending on the outside temperature and wind.

You can also remove the lid altogether and put an aluminum pan over the food as a makeshift lid on a hot day and if the fire is running hot. You just may need to experiment to master your instrument.

I hope you have learned a few fun tricks and that your summer is full of seared meats and happy guests!

Topics: |
This story was written by John Cook

13 Best Grilling Tips

Grill it hot.

Preheat your grill 15 to 25 minutes before you start cooking to make sure it reaches the right temperature (and to kill any bacteria). Your grill should be 400-450°F for high, 350-400°F for medium-high, 300-350°F for medium and 250-300°F for low heat. A properly heated grill sears foods on contact, keeps the insides moist and helps prevent sticking. While searing doesn’t “seal in” the juices (contrary to popular belief ), it does create improved flavors through caramelization.

It’s easier to remove debris when the grill is hot, so after preheating, use a long-handled wire grill brush on your grill rack to clean off charred debris from prior meals. Scrape again immediately after use.

Food safety is a top priority, so keep these simple rules from the USDA in mind: avoid cross-contamination by using separate cutting boards, utensils and platters for raw and cooked foods; refrigerate foods while marinating; and never baste with the marinating liquid. (Make extra marinade just for basting or boil your marinating liquid first.)

Marinating does more than infuse food with flavor; it also inhibits the formation of potentially carcinogenic HCAs (heterocyclic amines), which form when grilling “muscle meats” like poultry, red meat and fish. According to the American Institute for Cancer Research (AICR), marinating can reduce HCA formation by as much as 92 to 99 percent.

Topics: |
This story was written by John Cook

Helpful Hint: Keep It Clean!

Always clean your grill before using it, especially if it is stored outside in between uses, and then clean your grill after using it too. In fact, if you clean your grill cooking surface immediately after use, while it is still warm, it is much easier to clean than if you wait.

Here is some helpful information about keeping your outdoor cooking experience safe.

Grilling Safety

There’s nothing like outdoor grilling. It’s one of the most popular ways to cook food. But, a grill placed too close to anything that can burn is a fire hazard. They can be very hot, causing burn injuries. Follow these simple tips and you will be on the way to safe grilling.

Propane Grills

Check the gas tank hose for leaks before using it for the first time each year. Apply a light soap and water solution to the hose. A propane leak will release bubbles. If your grill has a gas leak, by smell or the soapy bubble test, and there is no flame, turn off the gas tank and grill. If the leak stops, get the grill serviced by a professional before using it again. If the leak does not stop, call the fire department. If you smell gas while cooking, immediately get away from the grill and call the fire department. Do not move the grill.
If the flame goes out, turn the grill and gas off and wait at least 15 minutes before re-lighting it.

FACTS

July is the peak month for grill fires.
Roughly half of the injuries
involving grills are thermal burns.

Grill Carefully!

Topics: |
This story was written by John Cook